Got a brilliant app idea bouncing around in your head? You're not alone! But here's the thing – having a great idea is just the starting line. The real magic happens when you follow a proven path to turn that idea into something people actually want to use.
Think of building software like planning a cross-country road trip. You wouldn't just hop in your car and start driving, right? You'd plan your route, check the weather, and maybe even call ahead to book hotels. Building an app works the same way – you need a roadmap.
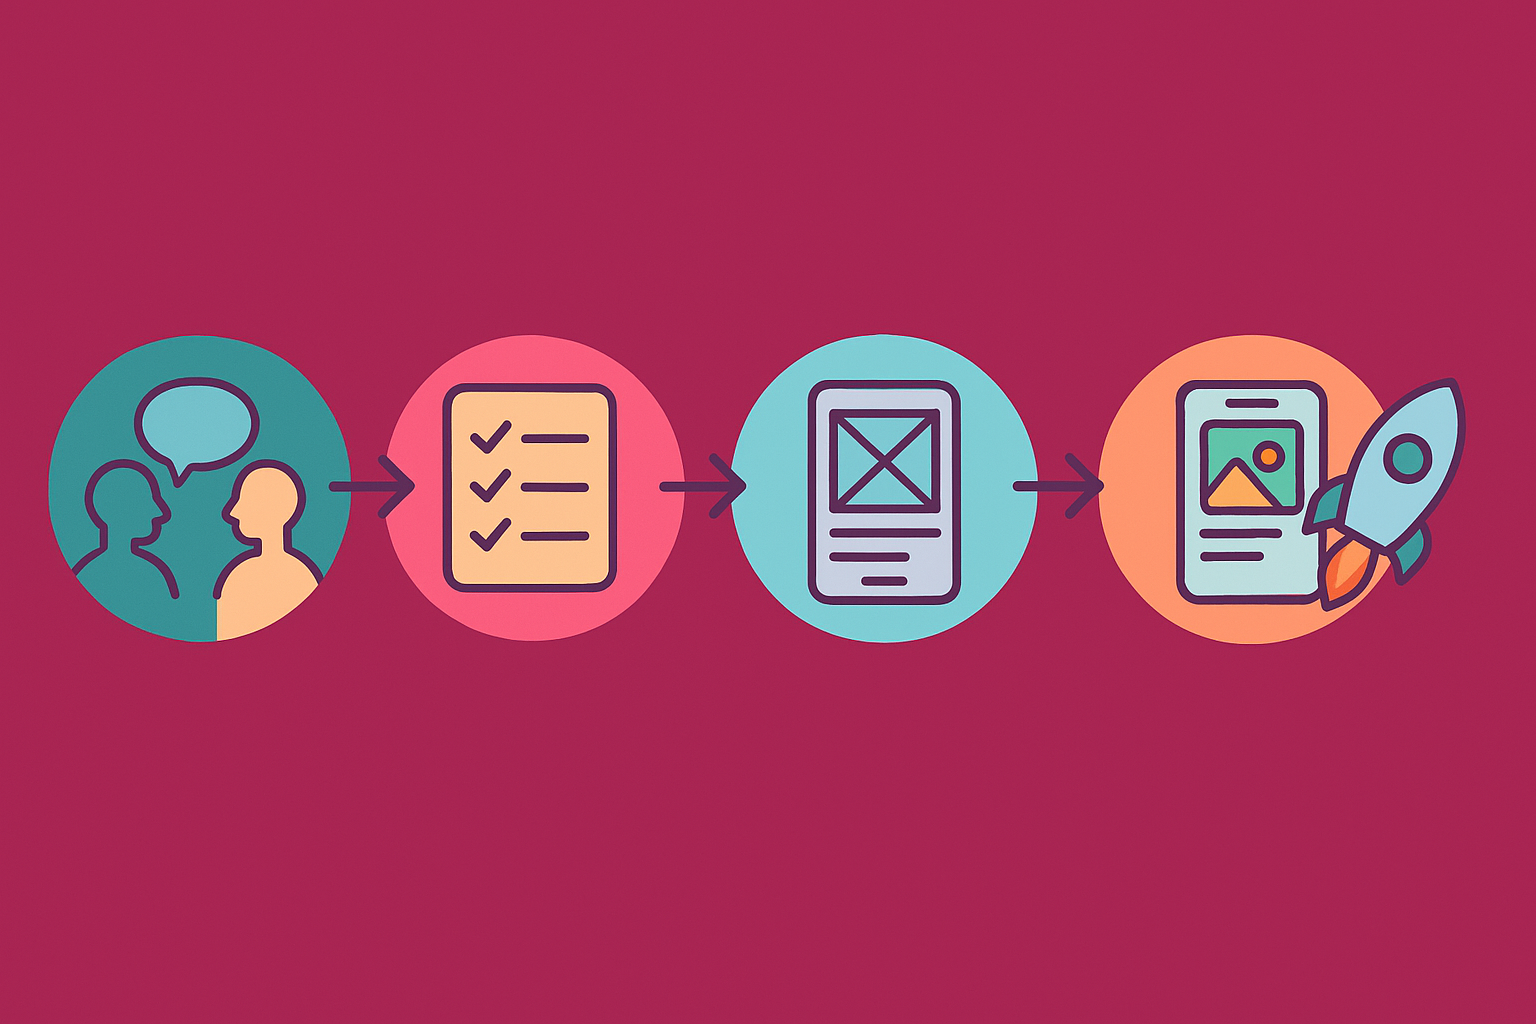
Here's the exact 5-step journey that turns ideas into reality:
Step 1: Customer Discovery (Talk to Real Humans!)
Before you write a single line of code, you need to answer one crucial question: "Do people actually want this?"
Customer discovery is like being a detective. You're not trying to prove your idea is amazing – you're trying to figure out if it solves a real problem that real people have.
What this looks like:
- Interview 20-50 potential customers
- Ask about their current frustrations
- Listen more than you talk
- Discover what they're already using to solve this problem
Pro tip: Don't ask "Would you use my app?" Instead ask, "How do you currently handle [specific problem]?" People will tell you their actual behavior, not what they think you want to hear.
The best part? This step costs almost nothing except your time, but it can save you thousands of dollars later.
Step 2: Requirements (Your Blueprint for Success)
Once you know people want your solution, it's time to get specific about what you're building. Requirements are like the blueprint for your house – they tell everyone exactly what goes where.
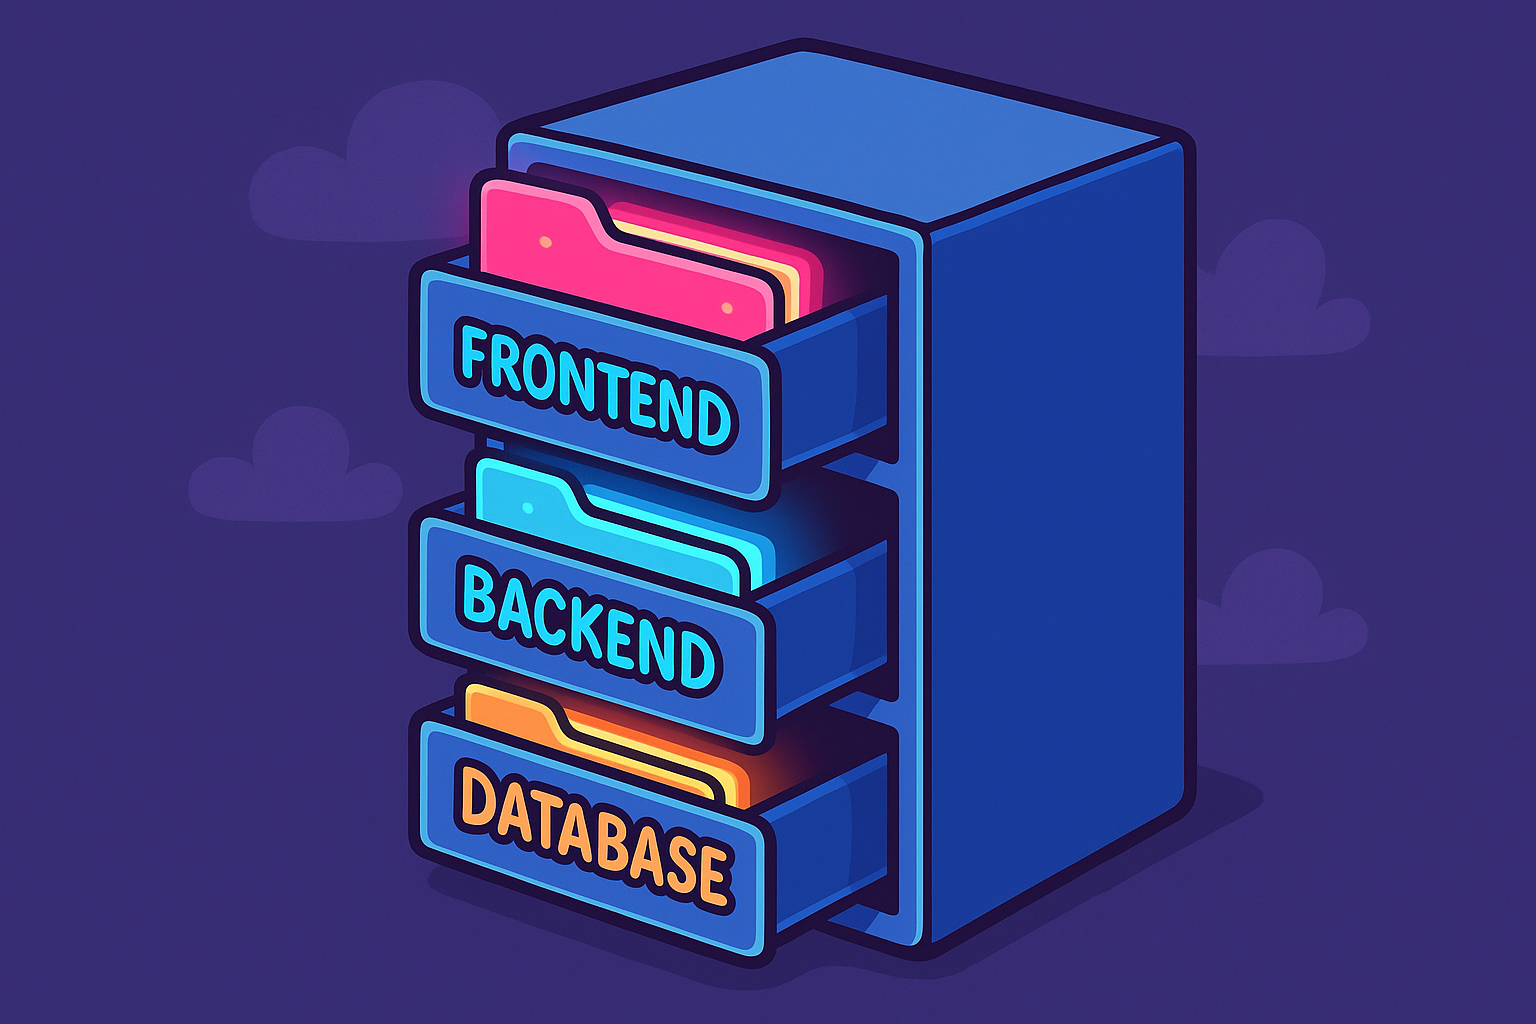
Think of requirements as answering three big questions:
- What does your app need to do?
- Who can do what inside your app?
- How does everything connect together?
What gets documented:
- Every button and screen your users will see
- What happens when someone clicks or taps something
- What information gets saved and where
- How different users (like customers vs. admins) experience the app
Good requirements feel almost boring because they're so detailed. But here's the secret – boring requirements lead to exciting products that actually work!
Step 3: Wireframes (Your App's Skeleton)
Wireframes are like stick figure drawings of your app. They show where everything goes without getting distracted by colors, fonts, or fancy graphics.
We love using tools like draw.io because they keep things simple. You're not trying to make it pretty yet – you're just figuring out the layout.
What wireframes help you avoid:
- "Wait, where does the login button go?"
- "I thought the shopping cart would be bigger"
- "Can we move this entire section to a different page?"
It's way easier (and cheaper!) to move boxes around on a wireframe than to rebuild actual app screens later.
Think of it this way: Wireframes are like rearranging furniture in an empty room before you paint the walls and hang pictures.
Step 4: High-Fidelity Prototype (Make It Look Real)
Now comes the fun part! A high-fidelity prototype is like a movie set version of your app. It looks completely real, but it's not actually built yet.
We typically use Figma for this step because it lets you create something that looks and feels exactly like the final product.
Why prototypes are magical:
- Show investors exactly what you're building
- Test with real users before spending big money on development
- Give your development team a crystal-clear target to build toward
- Catch design problems when they're cheap to fix
Real talk: A prototype might take a few weeks to create, but it can save you months of rebuilding later.
Step 5: MVP (Your First Real Version)
MVP stands for Minimum Viable Product – basically, the simplest version of your app that people can actually use and love.
Here's where you have a big choice:
Option 1: Low Code/No CodePerfect for testing your idea quickly and cheaply. Tools like Bubble, Webflow, or Airtable let you build real, working apps without traditional coding.
Option 2: AI-BuiltThe newest kid on the block! AI tools can now generate working code from your descriptions and prototypes. It's faster than custom development but gives you more control than no-code platforms. Just know that it gets tricky with complex workflows and isn't great for scaling up.
Option 3: Fully CustomWhen you need something totally unique or plan to scale to millions of users, custom development gives you complete control.
How to choose: If you're not sure, start with low code or AI-built options. You can always rebuild with custom code later once you prove people want your product.
The Plot Twist Most People Miss
Here's what nobody tells you: this isn't actually a straight line. You'll probably loop back and forth between these steps as you learn more.
Maybe your prototype testing reveals that customers want something slightly different. That's not failure – that's success! You caught it before spending six months building the wrong thing.
Your Next Step
Building a software product doesn't have to feel overwhelming when you have the right roadmap. Each step builds on the last one, and each step gets you closer to something real that customers will actually pay for.
The companies that succeed aren't necessarily the ones with the best ideas – they're the ones that follow a proven process and stay flexible along the way.
Ready to turn your idea into reality? We help founders just like you navigate this exact journey every day. Get in touch with us for all your software development and fractional CTO needs – we'll help you avoid the common pitfalls and build something amazing!